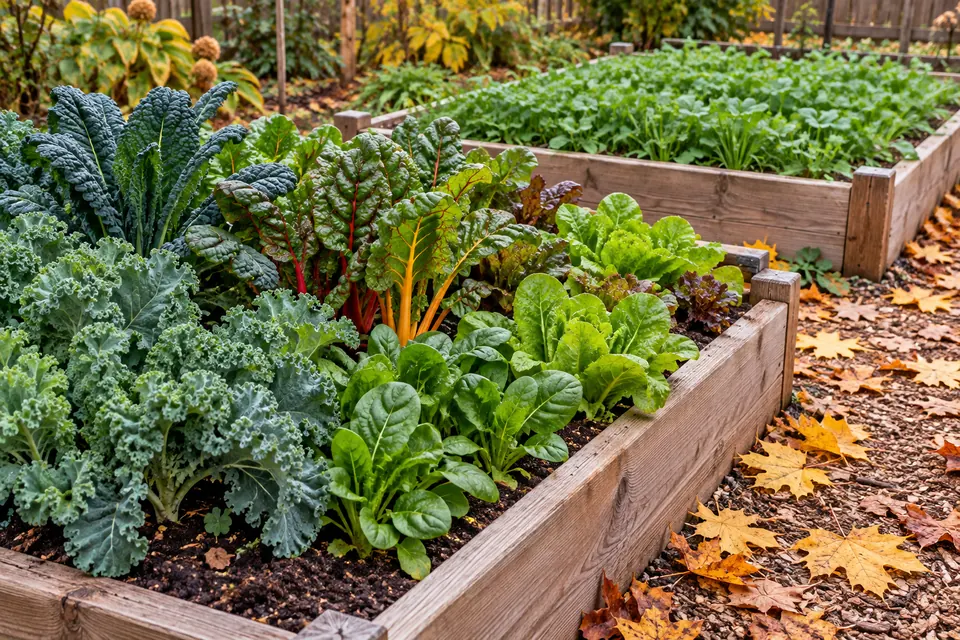
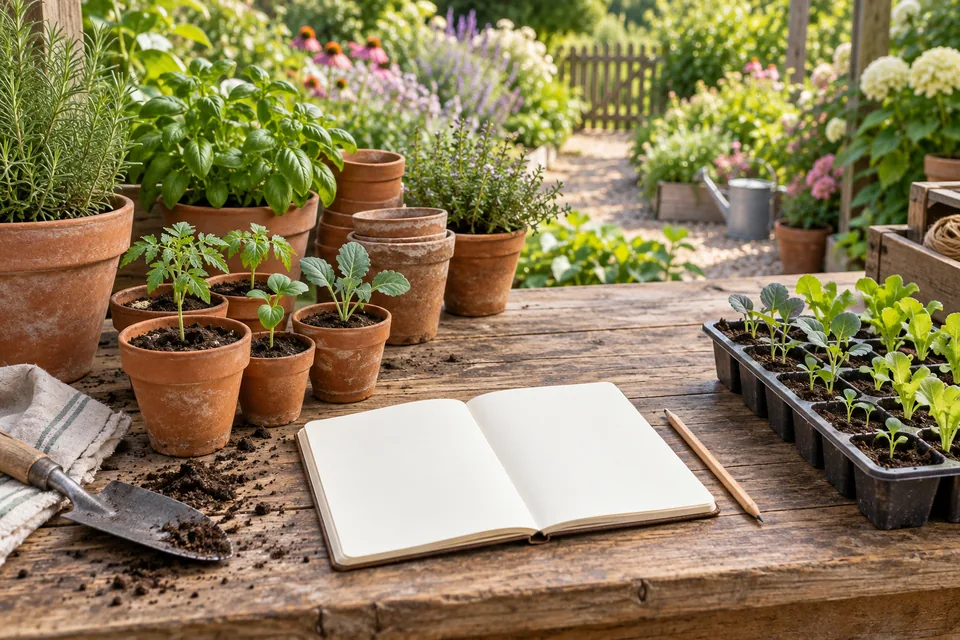
November work depends on what your garden is doing. Where the soil is freezing, prioritize harvest, irrigation shutdown, and root protection. Where autumn remains mild, vegetables may still be growing and newly planted shrubs still need water. In frost-free regions, November can be a productive planting month. This guide follows Northern Hemisphere seasons; use local forecasts, soil conditions, and your regional planting calendar to choose the relevant jobs. For the whole autumn in one list, ordered by frost and soil temperature rather than by month, see the fall garden checklist.
November tasks
Put weather-sensitive jobs first
Start with a walk through the garden before the next forecast freeze. Carry labels, a harvest basket, and a notebook so that small problems become completed jobs.
- Harvest exposed crops: Pick mature roots and greens that cannot tolerate the forecast temperature. Frost-hardy does not mean protected against every duration or severity of freezing.
- Check water at root depth: Give dry new plantings attention while soil can still absorb water. Wet soil needs drainage and time, not another watering.
- Secure protection: Repair torn row cover, anchor all edges, and check that hoops will support the fabric above crops.
- Finish storage preparation: Label tender bulbs, sort vegetables, and measure the temperature where they will spend winter.
- Drain vulnerable equipment: Empty hoses and removable fittings before freezing weather; follow the irrigation system manufacturer's winterization procedure.
Keep productive beds accessible
Mark the ends of carrot, parsnip, and garlic rows with stakes tall enough to remain visible above mulch or expected snow. Identify a route to winter crops that stays on paths. Repeatedly walking on wet beds compresses the growing area, and frozen leaves can be damaged by handling.
In mild regions, use the local planting calendar to decide whether another sowing of spinach, radishes, or salad leaves can establish now. Short days slow growth even when the air feels warm. A transplant may produce sooner than a late sowing, but neither replaces the need to plan winter crops earlier in the year.
Record the jobs that must wait
Separate weather-dependent jobs from purchases and planning. Soil sampling waits for workable ground; spring fertilizer applications wait for crop demand. Measure bed dimensions, inventory row cover and stakes, and note varieties you want to repeat. A list that includes quantities and locations is easier to use than a general reminder to prepare for spring.
Late fall harvest
Choose what to harvest and what to leave
Kale, collards, Brussels sprouts, and some root crops often improve in flavor after cold weather. Their survival still depends on variety, acclimation, drainage, and protection. Mustard greens and lettuce should not be assumed to tolerate the same conditions as established winter kale.
Pick Brussels sprouts from the bottom of the stalk as they become firm. Take sound outer leaves from kale and collards while leaving the central growing point intact. Harvest only what the plant can spare: in low winter light, replacement leaves develop slowly. Winter harvest often uses growth made in autumn rather than a continuing supply of new foliage.
Before prolonged freezing, lift roots you expect to need soon. An insulating mulch can delay soil freezing, but cannot guarantee that a bed will remain diggable through a severe winter. In poorly drained soil, lifting roots for storage may be more reliable than leaving them beneath wet mulch. Check a few roots for cracking, slug feeding, or rodent damage before deciding to store the rest in place. The RHS winter vegetable guide explains which crops can stand outdoors and which are better stored.
Harvest after thawing
Wait for frozen foliage to thaw naturally before cutting or moving it. Inspect the crop afterward: firm leaves may recover, while limp, translucent tissue that stays collapsed is damaged. Use sound produce promptly and discard decaying material. A mild afternoon is also a useful time to inspect protected beds without opening them repeatedly during cold weather.
For roots, loosen the soil beside the row with a fork and lift from below. Pulling hard on tops can snap carrots or tear the crown. Set aside cut, split, or bruised roots for early use; careful handling improves storage success.
Prepare vegetables for storage
Trim leafy tops from carrots and beets, leaving about an inch of stem without cutting into the root. Store sound roots cold and humid, ideally around 32–40°F without freezing. A refrigerator with perforated bags is useful for small quantities; a warm basement gives a shorter storage life. Keep bags ventilated enough to avoid standing condensation and separate roots from ripening fruit.
Use a thermometer where the vegetables actually sit, including near a basement wall or garage door. Check after a cold night as well as during the afternoon. Storage life depends on harvest condition, cultivar, temperature, and humidity; regular inspection is more useful than a fixed promise of three months. Follow Minnesota Extension's crop-by-crop storage guidance when separating crops with different requirements.
Freeze surplus greens in meal-sized portions. Wash, sort, and blanch using the correct time: the National Center for Home Food Preservation specifies two minutes in boiling water for spinach and most similar greens, and three minutes for collards. Cool promptly in ice water, drain, pack, label, and freeze. Frozen greens are best used cooked, since freezing softens the leaves. See its greens preservation instructions.
Overwintering protection
Use mulch for the right purpose
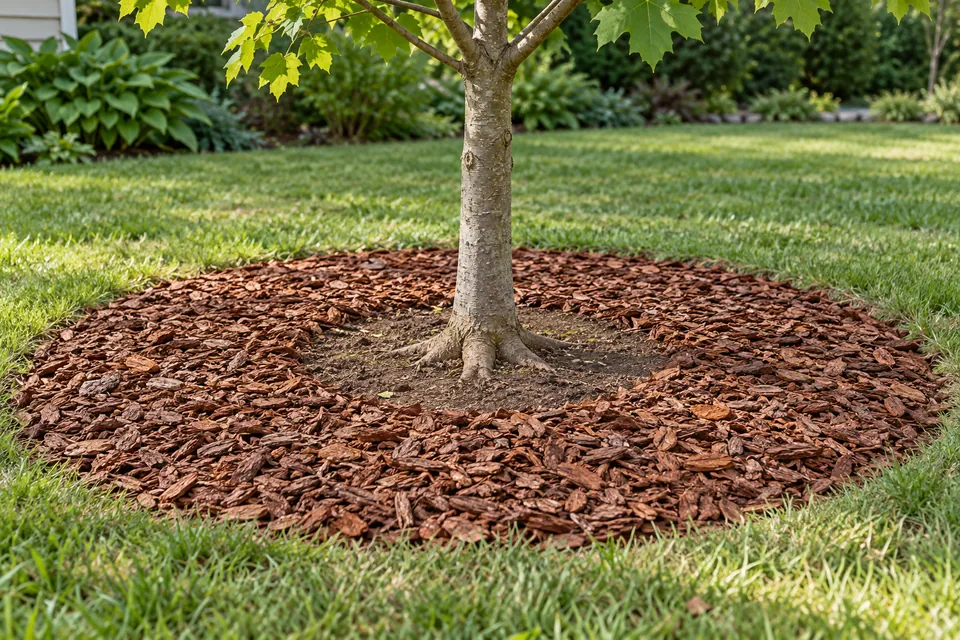
A permanent mulch around trees differs from a temporary winter covering over perennial crowns. Around trees and shrubs, maintain roughly 2–4 inches of coarse organic mulch and leave the trunk flare exposed. Deep, wet piles can shelter rodents and keep bark damp.
In climates with repeated freezing and thawing, add a loose winter covering to vulnerable perennial and spring-bulb beds after the soil begins to freeze. This limits temperature swings and frost heave. Newly planted or shallow-rooted perennials deserve particular attention. Minnesota Extension recommends loose leaves or straw for winter covering, with removal as the cover thaws in spring.
Choose clean straw with few weed seeds or loose shredded leaves. Break up matted patches so water can enter. Reserve wood chips for the soil between plants and around woody roots. Keep wet material away from the crowns of thyme, sage, and other plants needing sharp drainage. Mulch cannot make a tender rosemary cultivar reliably hardy beyond its tolerance; move a container plant to appropriate shelter before damaging cold.
Water according to soil conditions
Dormant shoots do not mean roots have no need for moisture. Feel the soil several inches down beneath the mulch, especially around plants installed this year. If it is dry and unfrozen, water slowly over the root area until moisture penetrates, then let excess drain. Check the original root ball as well as surrounding soil; they can dry at different rates.
During prolonged dry winter weather, use a mild day when the soil is thawed and water can soak in. Colorado State recommends watering when air and soil temperatures are above 40°F and there is no snow cover. Avoid watering frozen ground or saturated soil, and disconnect the hose afterward. Its fall and winter watering guidance is especially relevant to dry, windy regions.
Reduce wind, sun, and animal damage
Evergreen foliage loses moisture through winter while frozen soil limits replacement from roots. Browning can occur even in humid regions during cold, sunny, windy weather. For exposed plants with a history of damage, place a burlap screen on the windward and sunny sides, leaving air space around the foliage. Keep checking moisture; a screen does not correct a dry root ball.
Protect young trunks and vulnerable shrubs before snow makes them easier for rabbits to reach. Use an anchored wire guard with room between mesh and bark, allowing for expected snow depth. Inspect guards after storms for gaps, rubbing, or trapped debris. The animal damage guide gives rabbit fence heights and mesh sizes. Minnesota Extension's winter protection guide gives guard dimensions and options for different injuries.
Digging and storing tender bulbs
Identify the plant before choosing storage
Dahlias, cannas, gladiolus, and caladiums have different lifting and storage requirements. Check plant hardiness and winter conditions before deciding whether a plant can remain outdoors. Marginally hardy bulbs are more vulnerable in wet soil; containers expose roots to colder temperatures than in-ground plantings.
Label each plant before removing foliage. Record cultivar, color, and disease symptoms. Photograph the label beside the clump if several varieties look alike once dormant. Store only healthy material, and keep suspect clumps separate while you seek a diagnosis.
Lift without breaking crowns
Use a fork or spade outside the root mass and work around the plant before lifting from underneath. Pulling by the stem can break the connection between a dahlia tuber and its crown. Lift dahlias and cannas after frost kills their tops but before the storage organs freeze. Lift caladiums as foliage yellows in cool weather; they need warmer storage than dahlias.
Brush away loose soil and follow the cleaning procedure for the species. Dahlia clumps can be washed and then dried to the touch before packing; do not seal freshly wet material in a container. Keep clumps intact through winter if you are inexperienced with dividing; fewer cuts mean fewer possible entry points for decay.
Match the storage conditions
These temperatures are for dormant storage after appropriate drying or curing:
- Dahlias and cannas: About 40–50°F; prevent freezing and excessive drying.
- Gladiolus: Cure in a warm, ventilated place for two to three weeks, then store dry at about 35–45°F.
- Caladiums: Cure for one to two weeks and store around 60–65°F in dry packing material.
Use the species instructions in Iowa State's tender perennial guide for packing and curing details. One cool-garage rule will not suit all four plants.
Put a minimum/maximum thermometer with the stored plants. A shelf that stays safe in November may freeze during January; keep boxes off cold floors and away from exterior doors. Write the storage date on each container and inspect every few weeks, including beneath the top layer of packing.
Firm storage organs are the aim. Remove soft, rotting pieces and check nearby material; persistent condensation calls for better ventilation. If healthy tubers begin shriveling, correct excessively dry storage conditions carefully rather than soaking the box. Record which location worked so next year's storage starts with evidence.
Garlic care
Check the bed without disturbing cloves
Inspect mulch after wind and heavy rain. In cold climates, roughly 3–4 inches of loose straw or leaf mulch is a useful starting point; adjust for local conditions and settling. Keep the covering even, and mark rows so you do not tread on the bed while harvesting neighboring crops.
Look for exposed cloves, puddles, and animal disturbance. Restore soil over an exposed clove gently when the ground is workable, then replace mulch. Avoid forcing frozen soil around roots. If water repeatedly stands in a bed, photograph the location and address the source of runoff when conditions allow. Extra mulch does not fix poor drainage.
Green shoots in a mild autumn are not a reason to cut plants back or add fertilizer. Avoid repeatedly pulling aside mulch to look for growth; the bed needs stable conditions.
Plan spring care by growth stage
As shoots resume active growth in spring, loosen or reduce mulch that has formed a dense mat. Leave a lighter layer for moisture conservation and weeds if it does not obstruct emerging leaves. The timing may be weeks later than February or March in cold regions.
Use your soil test and local garlic recommendations to plan spring nitrogen. Pale leaves alone do not prove a fertilizer shortage: cold roots, waterlogging, or disease can also cause poor color. Inspect conditions first. Avoid adding phosphorus when soil already has enough, and do not rely on compost tea as a measured nutrient source.
Hardneck scapes are a later spring or early summer job. Remove the stalk when it begins to curl, leaving leaves intact; growth stage is more useful than an arbitrary stalk height. Minnesota Extension's garlic guide covers mulching, nutrient timing, and scape removal.
Soil testing and preparation
Make the sample represent the bed
Read your laboratory's instructions first; sampling depth, quantity, and drying requirements vary. The soil health guide explains how to take a sample that means something. Use a clean trowel and bucket. Remove surface mulch, then take equal amounts of soil from several locations at a consistent depth, commonly about six inches for vegetables. Mix thoroughly and submit the requested quantity.
Keep areas with different management separate. A new raised bed, an established vegetable plot, and a blueberry bed should not be blended into one sample. Test a persistently failing patch separately; mixing it with healthy soil can hide the difference. Label samples with bed names matching your map and tell the lab which crops you intend to grow.
Routine garden panels usually include pH, phosphorus, potassium, and sometimes organic matter. Nitrogen and other tests may be separate, and a fertilizer recommendation does not necessarily mean nitrogen was measured. Minnesota Extension's sampling guide explains the tests and preparation.
Turn the report into a measured plan
Use crop-specific recommendations rather than treating every low-looking number as a deficiency. Results depend on the laboratory method, so compare repeat tests from the same lab where practical. Organic matter is not a score to increase indefinitely: repeated compost or manure applications can also accumulate phosphorus and salts.
Write down the treatment area and the units in the report before buying amendments. If it recommends 4 pounds of a particular product per 100 square feet, a 4-by-8-foot bed needs 1.28 pounds of that product. Pounds of actual nitrogen require a separate calculation using the fertilizer percentage; they are not the same weight of fertilizer.
Apply lime or sulfur only at the recommended rate for the intended crop. Both require time, and elemental sulfur depends on biological activity that slows in cold soil. Avoid promising a fixed winter correction date. Keep amendments off frozen or saturated ground and recheck pH at the interval advised by the laboratory. Penn State's soil pH guidance explains why acid-loving crops need separate decisions.
Protect soil structure while beds are empty
Leave established cover crops in place according to their management plan. Maintain a suitable surface cover on bare beds rather than repeatedly cultivating to make the plot look tidy. Walk paths after rain and mark persistent puddles, eroded edges, and runoff entering from uphill. These observations identify where drainage or access needs improvement.
Postpone digging when soil smears on tools or stays sticky in a squeezed handful. Working wet soil can damage pore structure and worsen spring drainage. Carry heavy materials along paths rather than crossing planting areas. Minnesota Extension's guide to reducing tillage offers alternatives for established beds.
Year-end reflection
Record causes and decisions
For each main crop, record variety, sowing or transplant date, first harvest, useful harvest period, and major problems. Add bed location and changes to watering or feeding. “Tomatoes failed” is difficult to act on; “fruit split after dry periods followed by heavy rain” points toward a specific adjustment.
Separate confirmed diagnoses from guesses. Save photographs of symptoms and dates, and label uncertain problems for follow-up with an extension service. Avoid buying a treatment based only on yellow leaves or a poor yield; those symptoms have several possible causes.
Choose a manageable set of changes
Select two or three changes with a clear purpose. Move a sun-demanding crop out of afternoon shade, reserve a bed for an earlier fall sowing, or reduce a crop that repeatedly went unused. Keep proven varieties as a reference while trialing new ones in a labeled section under similar conditions.
Measure how much produce the household used before expanding. A harvest that could not be picked or stored in time suggests smaller successions or different maturity dates. Record a review date for each change: irrigation performance during the first dry spell, a fall sowing reminder in summer, and storage results before next autumn's harvest.
Sources and further reading
- Royal Horticultural Society: Growing vegetables for winter
- University of Minnesota Extension: Harvesting and storing home garden vegetables
- National Center for Home Food Preservation: Preserving winter greens
- University of Minnesota Extension: Mulch perennials and bulbs after the soil freezes
- Colorado State University Extension: Fall and winter watering
- University of Minnesota Extension: Protecting trees and shrubs in winter
- Iowa State University Extension: Overwintering tender perennials
- University of Minnesota Extension: Growing garlic
- University of Minnesota Extension: Soil sampling, step by step
- Penn State Extension: Understanding soil pH
- University of Minnesota Extension: Reducing tillage in your garden